|
|
||||||||||||||||||||||||||||||||
The gauge management software QMSOFT® |
|||
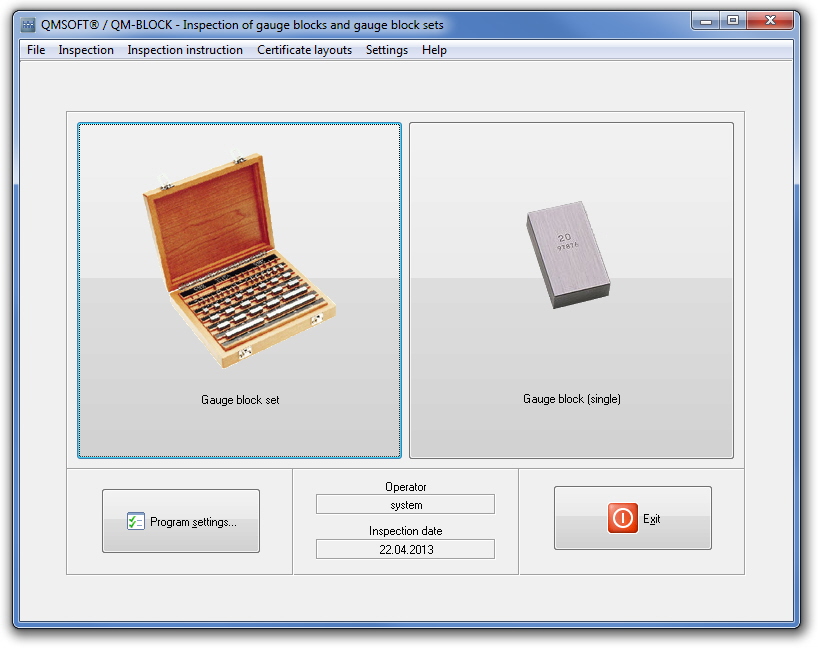
Inspection program QMSOFT® / QM-BLOCKThe inspection program QMSOFT®/QM-BLOCK is designed for the computer supported inspection of gauge blocks used as single gauge blocks or as gauge block sets. Different evaluation methods are possible (evaluation of centre length deviation or the deviation range combined with the centre length deviation). Basically the evaluation and the used tolerances are related to the ISO 3650 standard, the ANSI/ASME B89.1.9, the British standard BS 4311 or the Australian standard AS 1457. To define customized tolerance tables with user defined accuracy classes is also possible. Mostly a gauge block inspection instrument does work with the method of difference measurement. This means that you have a reference gauge block with a well known actual size which have to be compared with the size of the gauge block should be inspected. Normally, the nominal size of the used reference gauge and the inspected gauge block should be identically - a difference of only few micrometers may be possible. Gauge block comparator devices with so-called long range probes are also supported by the program. The management of the reference gauge blocks and the input of the actual values of your used reference gauge blocks have to be done inside of QMSOFT®/QM-MANAGE, the inspection program does not contain this features for a gauge management, for the storage of the gauges history, for the management of gauge block sets, for the monitoring of the calibration date etc. For this features an additional licence for the program QMSOFT®/QM-MANAGE is required (either professional edition" or "lite edition" version; the lite edition licence is usually an essential part of the QMSOFT®/QM-BLOCK package).
Results can be produced on the screen and/or the printer and/or in a file. The nominal values of the gauge will be processed in connection with the inspection conditions and the measurement results in the results record. Tolerance excesses are marked and identified. It is possible to customize calibration certificates using the so called "certificate layout files" (templates). The program can be started up directly from the QMSOFT®/QM-MANAGE gauge data management system. In this case it will receive all necessary nominal data necessary directly from the data base. At the end of the inspection the results and the calibration certificate will automatically be transferred back to the data base program. |
|||
