|
|
||||||||||||||||||||||||||||||||
The gauge management software QMSOFT® |
||
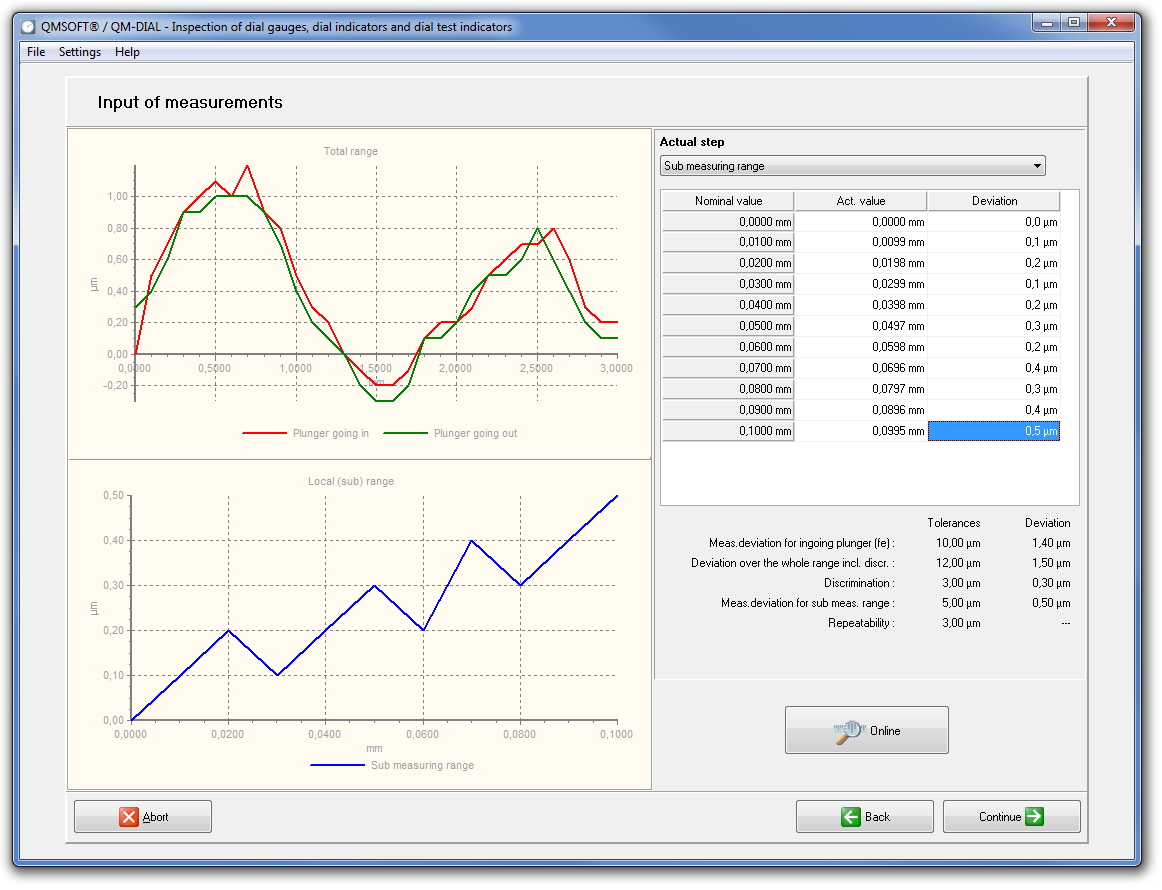
Inspection program QMSOFT® / QM-DIALThe inspection program QMSOFT®/QM-DIAL is used for computer aided inspection of dial gauges, dial indicators and dial test indicators. It was designed to support the inspection of this gauges according to the worldwide mostly used standards. So the QM-DIAL program does include a module to carry out the inspection according to the German standards (DIN 878, DIN 879, DIN 2270) inclusive the rules according to the VDI/VDE/DGQ-standard, the American standard ANSI/ASME B89.1.10M-1987, the British standards BS 907 / BS 2795 and the Australian standard AS 2103-1978, the Korean and Japanese standards KS B 5206, KS B 5207, KS B 5238, JIS B 7503, JIS B 7533 and the standard JMAS 2001 and also the french standard NF E 11-050. The program also permits the inspection of non-standardized values of the above mentioned gauges and the inspection under non-standardized conditions (works standard specifications). In coordination with the inspection strategy and the selected standard the program computes the deviation range fe, the deviation range ft of the sub measure range, the total deviation range fges, the repeatability fw and the discrimination error fu. For the evaluation according the British or Australian Standard the calibration errors over the several standardized intervals (e.g.: any one-tenth revolution, any half revolution ...) will be calculated. The input parameters necessary for the evaluation are inspected on plausibility according to the usage purpose of the standards. The output of the inspection results are numerical data lists and graphics showing the deviation course. The nominal values of the gauge will be processed in connection with the inspection conditions and the measurement results in the results record. Tolerance excesses are marked and identified. It is possible to customize calibration certificates using the so called "certificate layout files" (templates).
The program can be started up directly from the QMSOFT®/QM-MANAGE gauge data management system. In this case it will receive all necessary nominal data necessary directly from the data base. At the end of the inspection the results and the calibration certificate will automatically be transferred back to the data base program. |
||
